
Jimmy Boinembalome
Install Angular Material in an Angular project
Quick steps to install Angular Material in an Angular project.

Angular Material is an Angular UI Component framework based on the Material Design specification.
In this article, we will install Angular Material in an Angular v15 project.
Prerequisites
Before to start you will need:
- Node.js: Angular requires an active LTS (Long Term Support) or maintenance LTS version of Node.js.
- Angular CLI: We will use the Angular CLI to create an Angular project.
- Visual Studio Code: The editor to add a new component inside the project. (You can choose your favourite editor or IDE as well 🙂)
Create an Angular project
Let's create a new project with the Angular CLI by running the following command in a terminal:
ng new angular-app-with-angular-materialAfter running the command, Angular CLI will ask you few questions to configure your new Angular project:

Then go inside the project with the command:
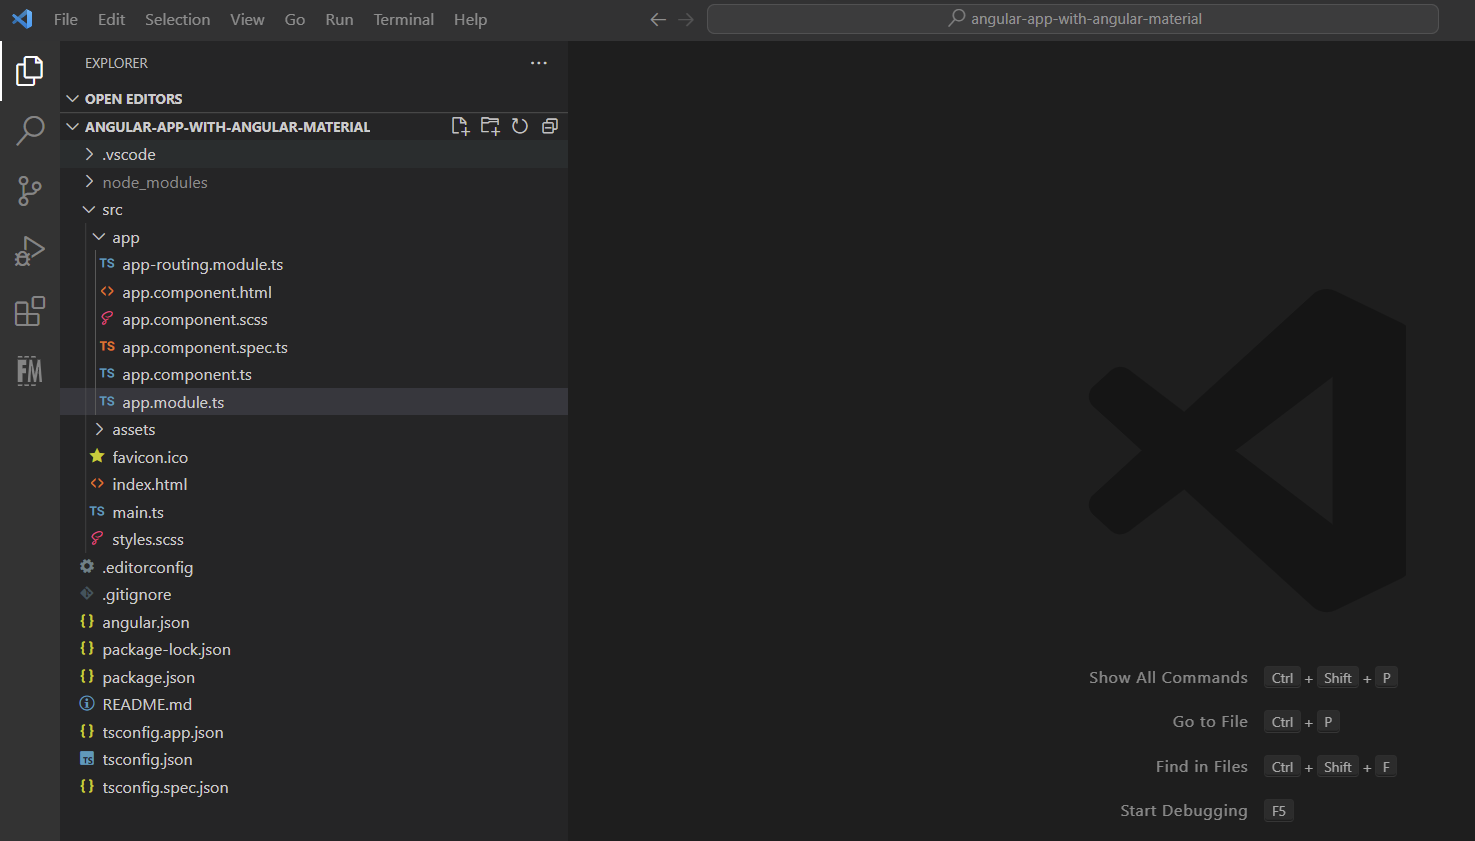
cd .\angular-app-with-angular-material\And open the project with Visual Studio Code:
code .If all has gone well so far, you should have the following architecture:
Run the application
The Angular CLI includes a server, for us to build and serve our app locally. To launch the server, we can use the following command:
ng serve --openNote: The
--openoption will automatically opens your browser.
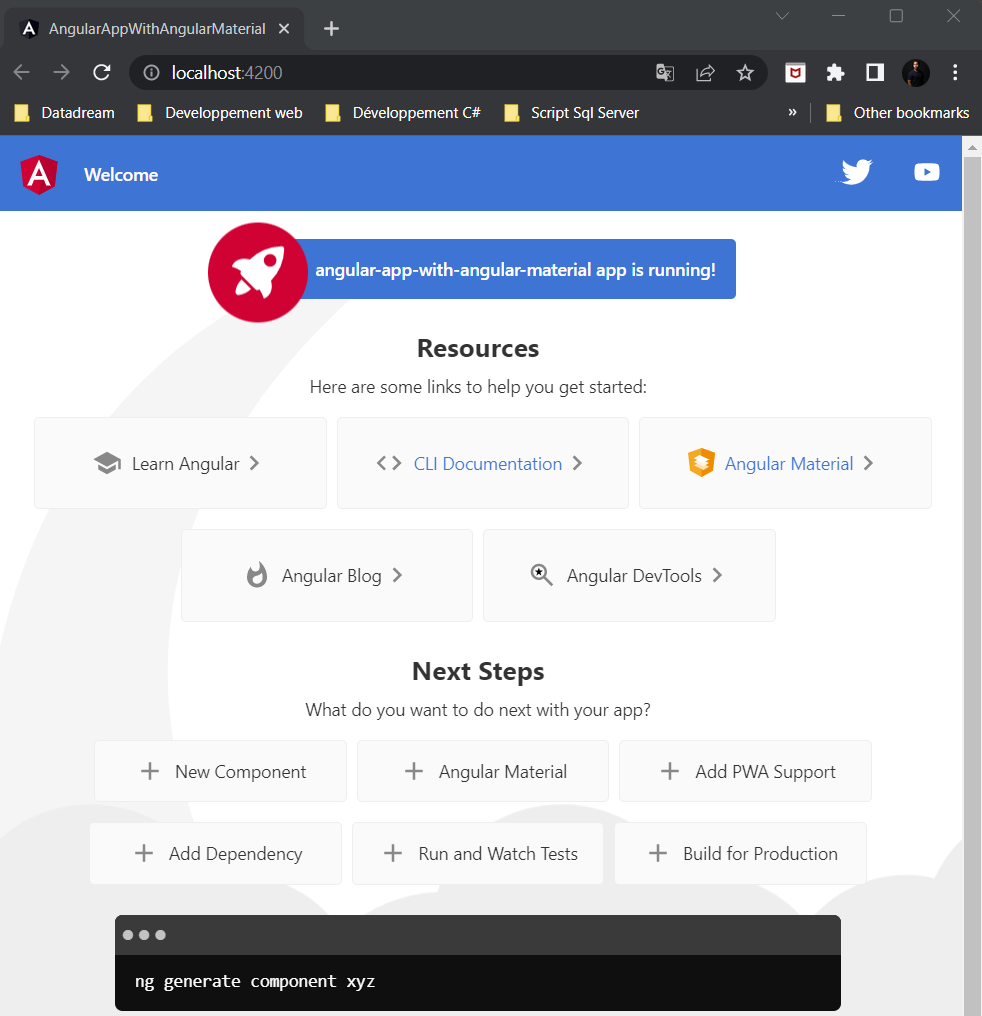
After running the command, you should see a similar page:
Install Angular Material
Now, we will install Angular Material.
To do this, run the following command:
ng add @angular/materialNote: The
ng addcommand will install Angular Material, the CDK (Component Dev Kit) and Angular Animations to animate the Angular Material components.
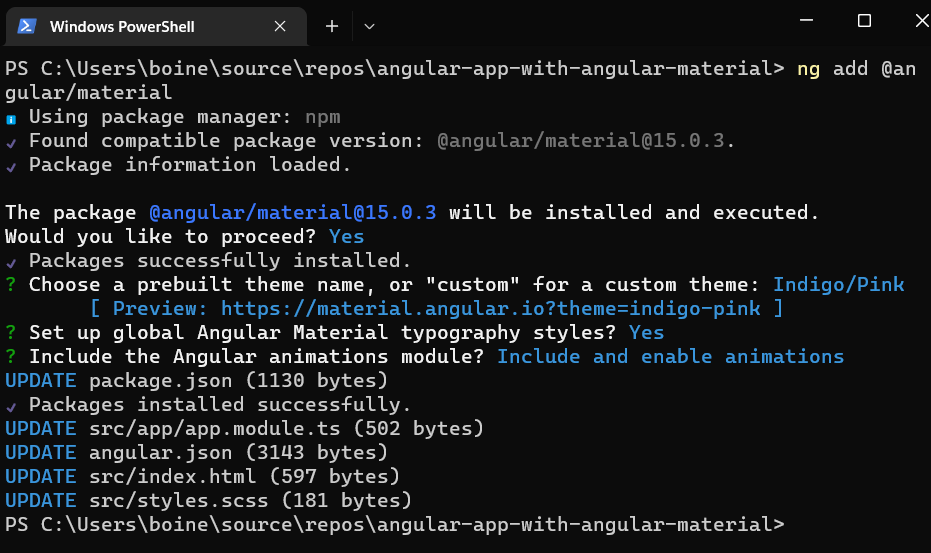
After running the command, Angular CLI will ask you a few questions to configure the theme colours, the typography and the animations of the components:
Display a component
Let's replace a button in the home page by an Angular Material button.
If we go to the official Angular Material website, the Angular team has provided us a list of buttons that we can use:

Here we will use the Raised Button with the primary colour of the theme.
To do this, we need to import the MatButtonModule and MatIconModule that we want to display to the app.module.ts file:
import {MatButtonModule} from '@angular/material/button';
import {MatIconModule} from '@angular/material/icon';

@NgModule ({
  imports: [
    MatButtonModule,
    MatIconModule
  ]
})
export class AppModule {}
Next, we will replace the "New component" button below:
<button class="card card-small" (click)="selection.value = 'component'" tabindex="0">
      <svg class="material-icons" xmlns="http://www.w3.org/2000/svg" width="24" height="24" viewBox="0 0 24 24"><path d="M19 13h-6v6h-2v-6H5v-2h6V5h2v6h6v2z"/></svg>
      <span>New Component</span>
</button>
by:
<button mat-raised-button color="primary" (click)="selection.value = 'component'" tabindex="0">
    <mat-icon>add</mat-icon>
    <span>New Component</span>
</button>
and finally we will launch the server again with the following command:
ng serve --openAfter this you should see the Material Raised button on the home page:
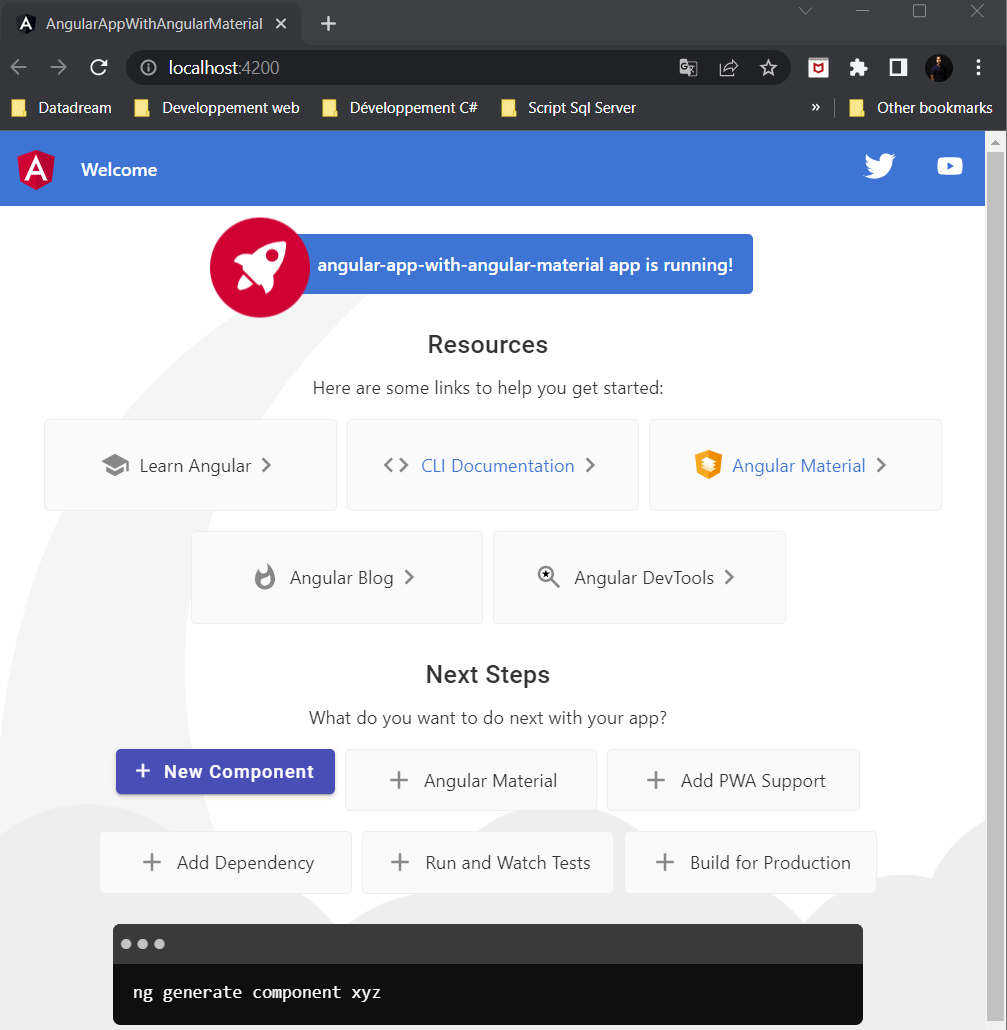
As we can see above, the "New Component" button now has the Angular Material style!😍
Conclusion
In this article we installed Angular Material in an Angular project. As we have seen, the installation of the framework can be done in a few minutes.
If you want to use Angular Material, I recommend you to take a look at the official documentation. The documentation is very detailed and has many examples.
I hope this article has helped you with the installation of Angular Material.
Source code of the article: Github source code
Thanks for reading! 🙂